8.A. Introduction to SSH Services
Secure Shell (SSH) is a cryptographic network protocol essential for secure communications over insecure networks like the internet. It facilitates secure system administration and file transfers, leveraging a client-server model where both SSH client and server applications are utilized.
8.A.1. The SSH Protocol
SSH supports logging into remote machines, executing commands, tunneling, forwarding TCP ports, and X11 connections. It employs public-key cryptography to authenticate the remote computer and allow user authentication.
8.A.2. Installing and Configuring SSH on Kali Linux
SSH services on Kali Linux are managed via the OpenSSH package. The installation involves updating package lists and installing OpenSSH:
sudo apt update
sudo apt install openssh-server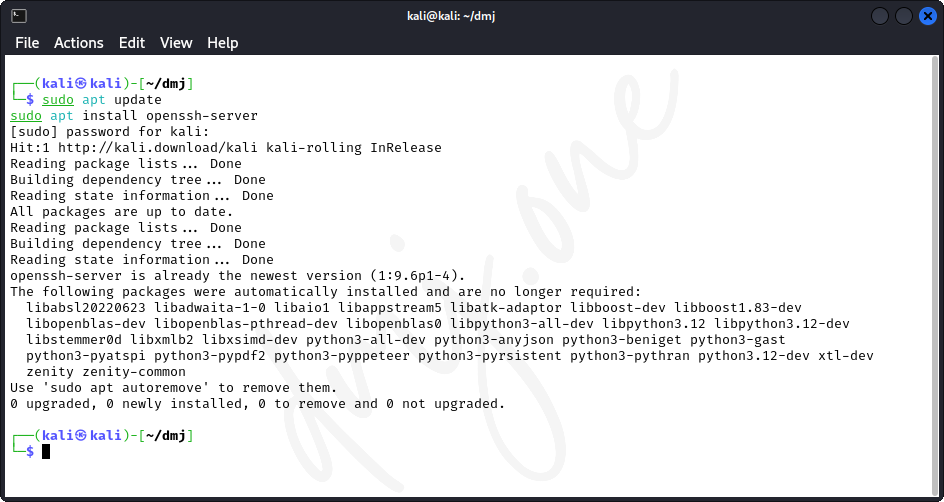
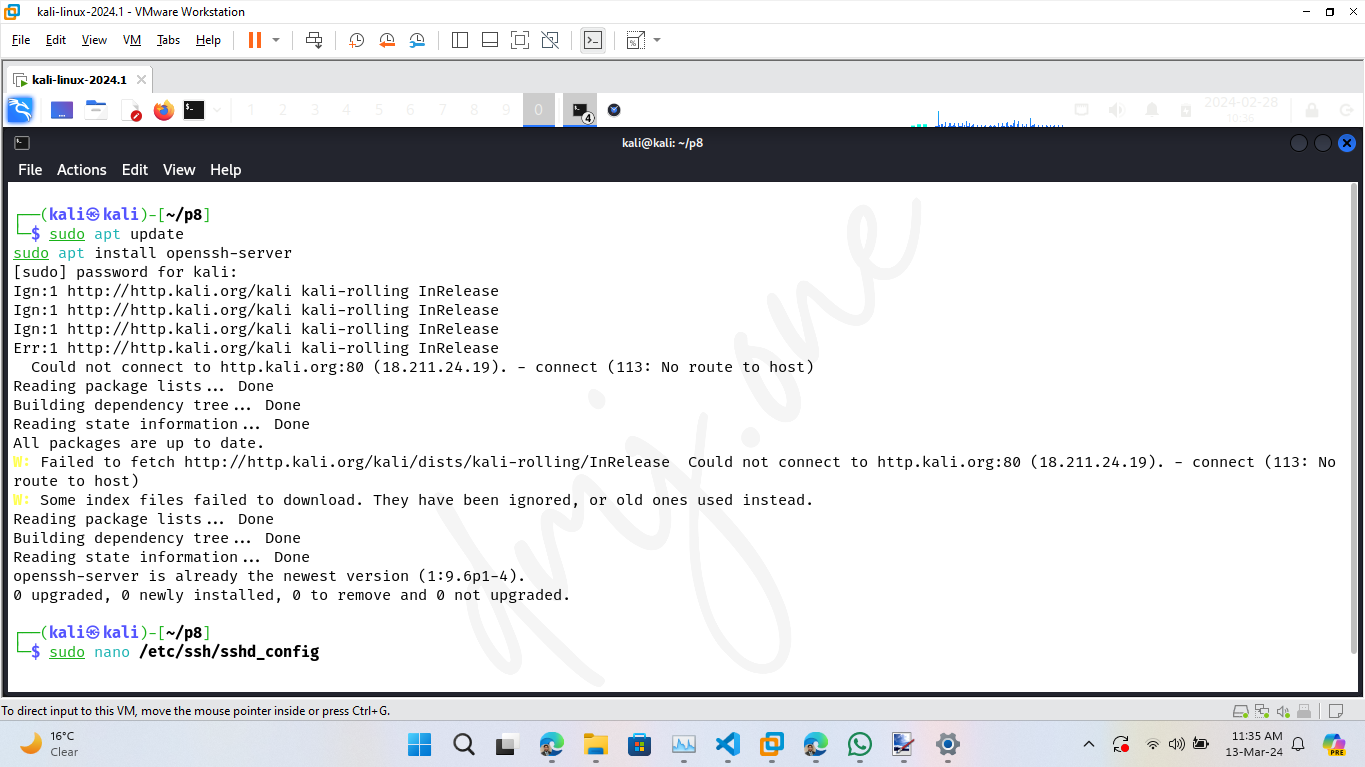
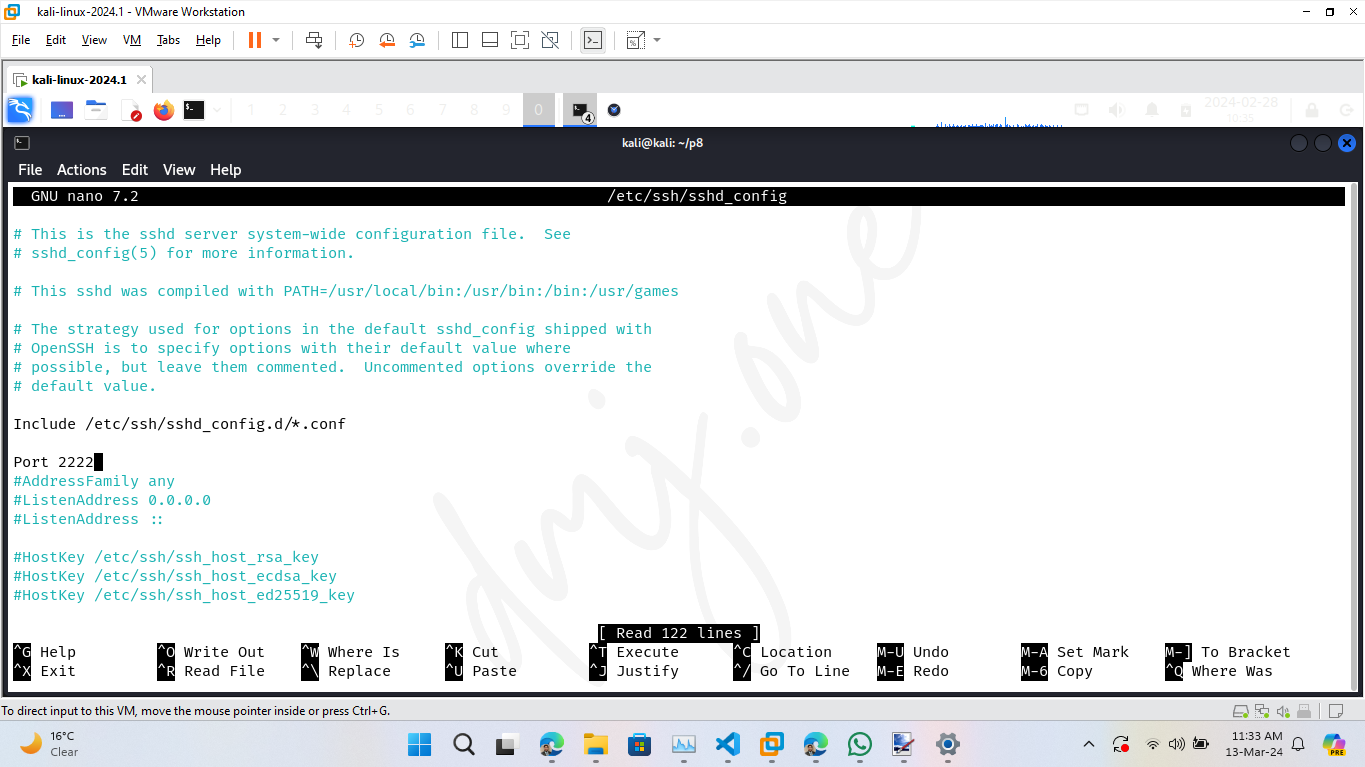
Configuration adjustments are made in the SSH daemon configuration file (/etc/ssh/sshd_config), such as changing the default port, disabling root login, and enforcing public key authentication over passwords.
sudo nano /etc/ssh/sshd_config
# Make changes: Port 2222, PermitRootLogin no, PasswordAuthentication no
sudo systemctl restart ssh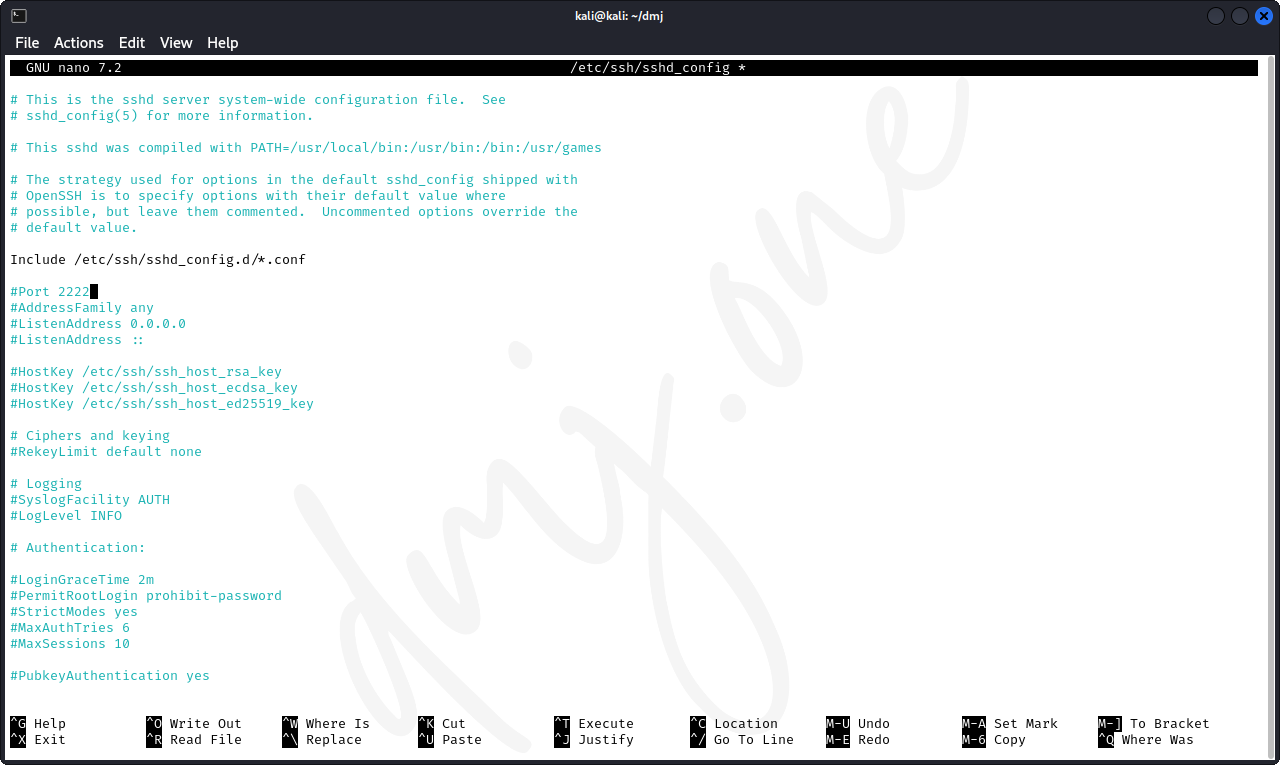
8.A.3. Managing SSH Service
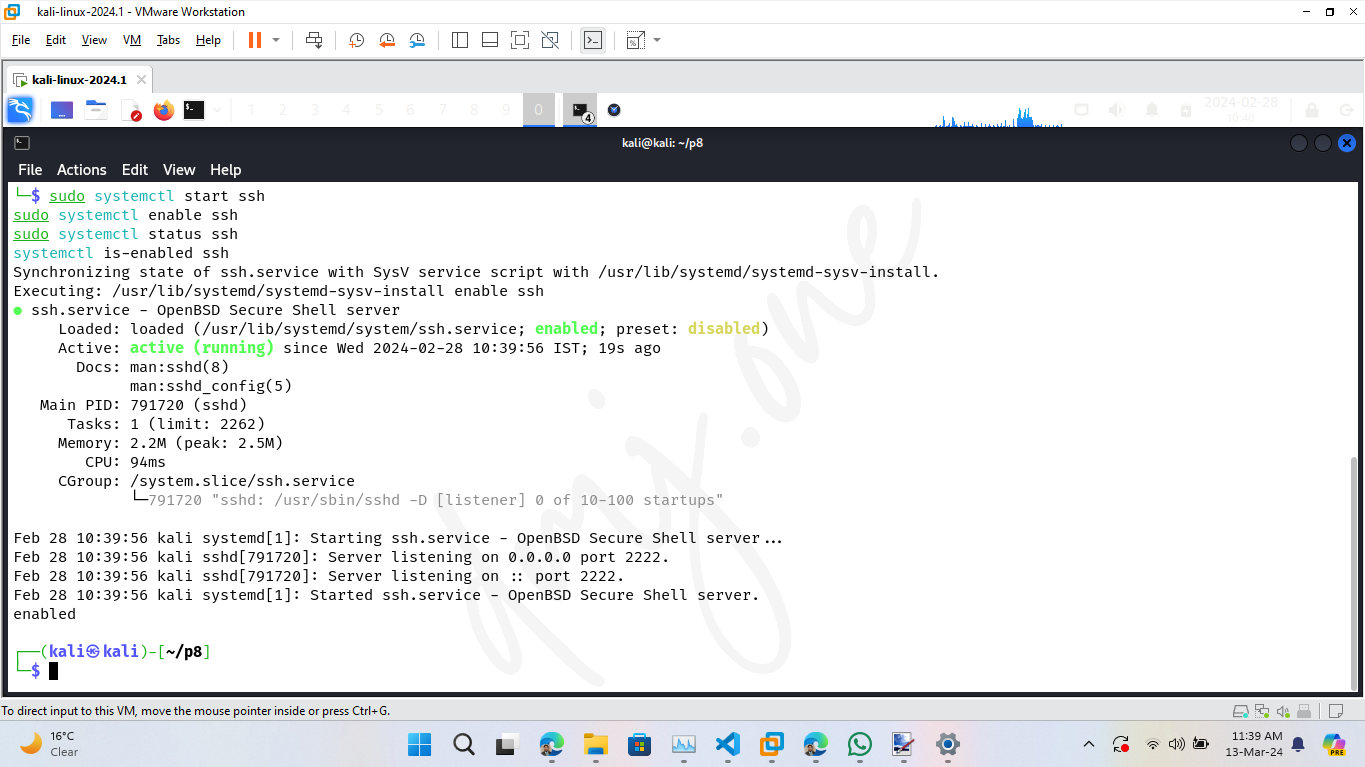
Ensure the SSH service starts automatically at boot and verify it's running correctly:
sudo systemctl start ssh
sudo systemctl enable ssh
sudo systemctl status ssh
systemctl is-enabled ssh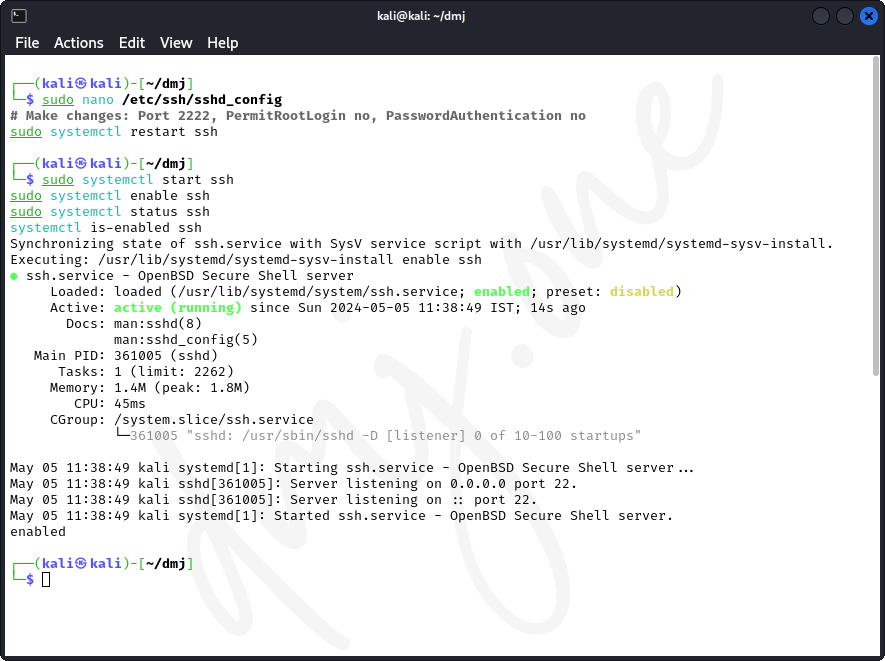
8.A.4. Setting Up SSH Key Pair and Connection
Generate an SSH key pair on the client machine for secure authentication and copy the public key to the Kali SSH server:
ssh-keygen -t rsa -b 4096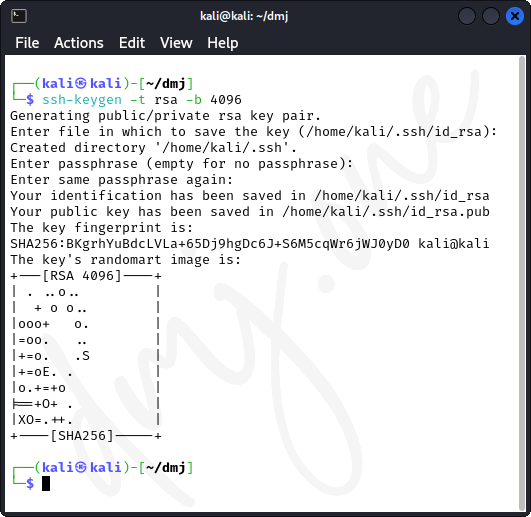
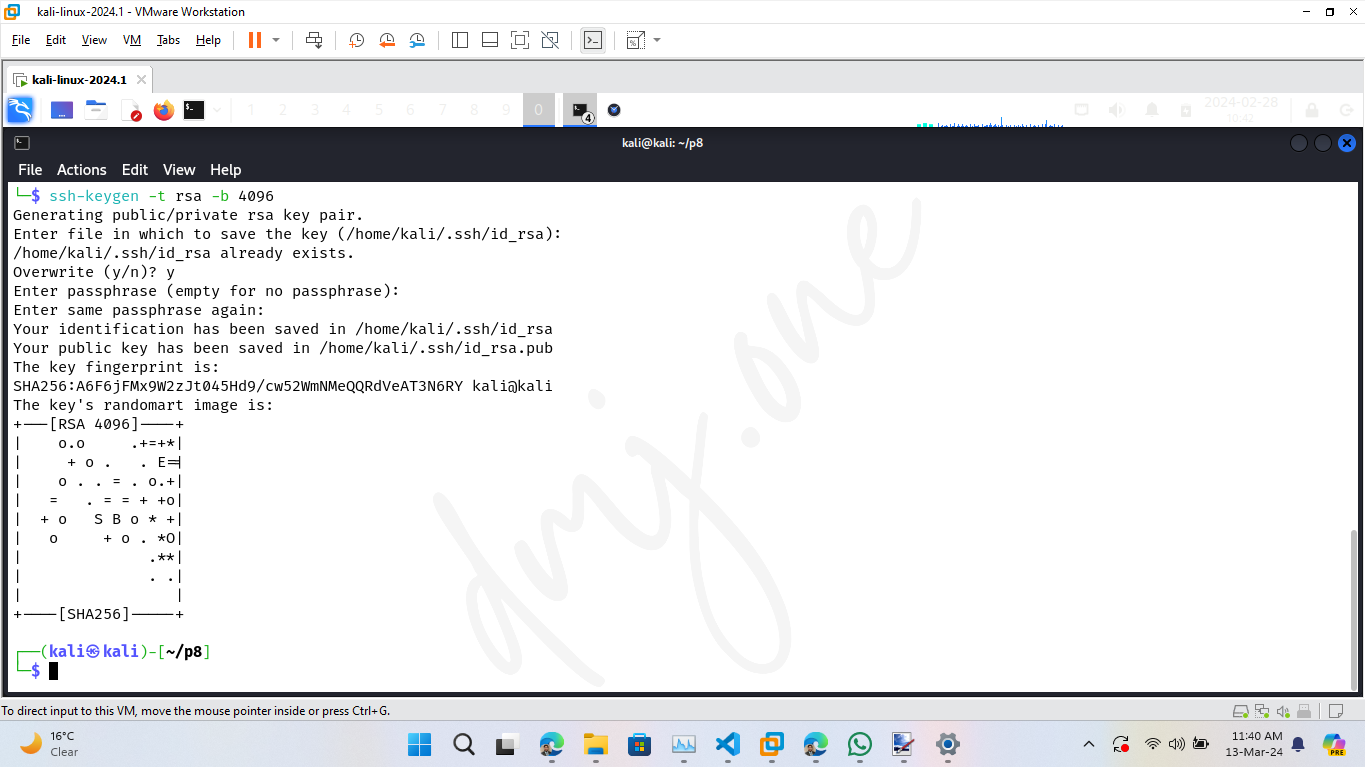
ssh-copy-id -i ~/.ssh/id_rsa.pub -p 2222 username@your-kali-ip-address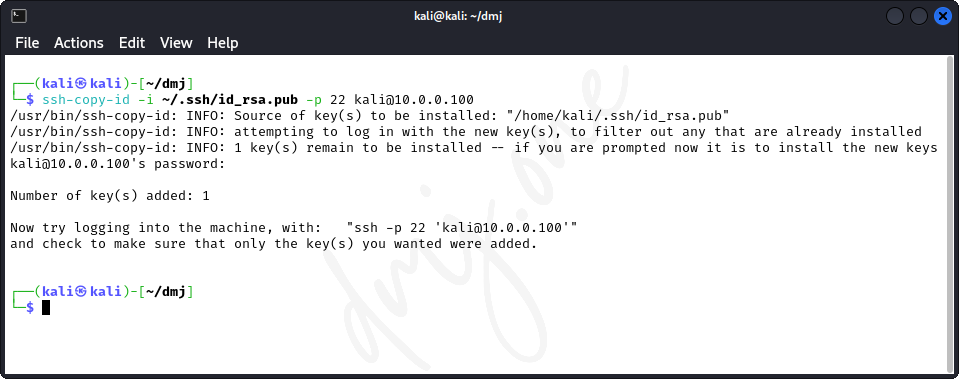
Test the SSH connection using the configured settings:
ssh -p 2222 username@your_kali_ip_address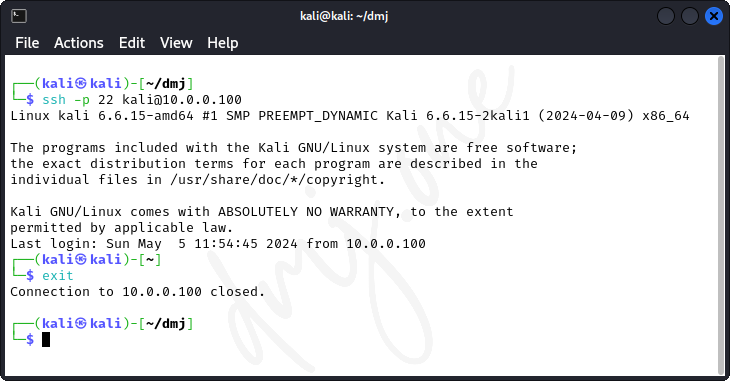
8.A.5. Advanced SSH Configuration
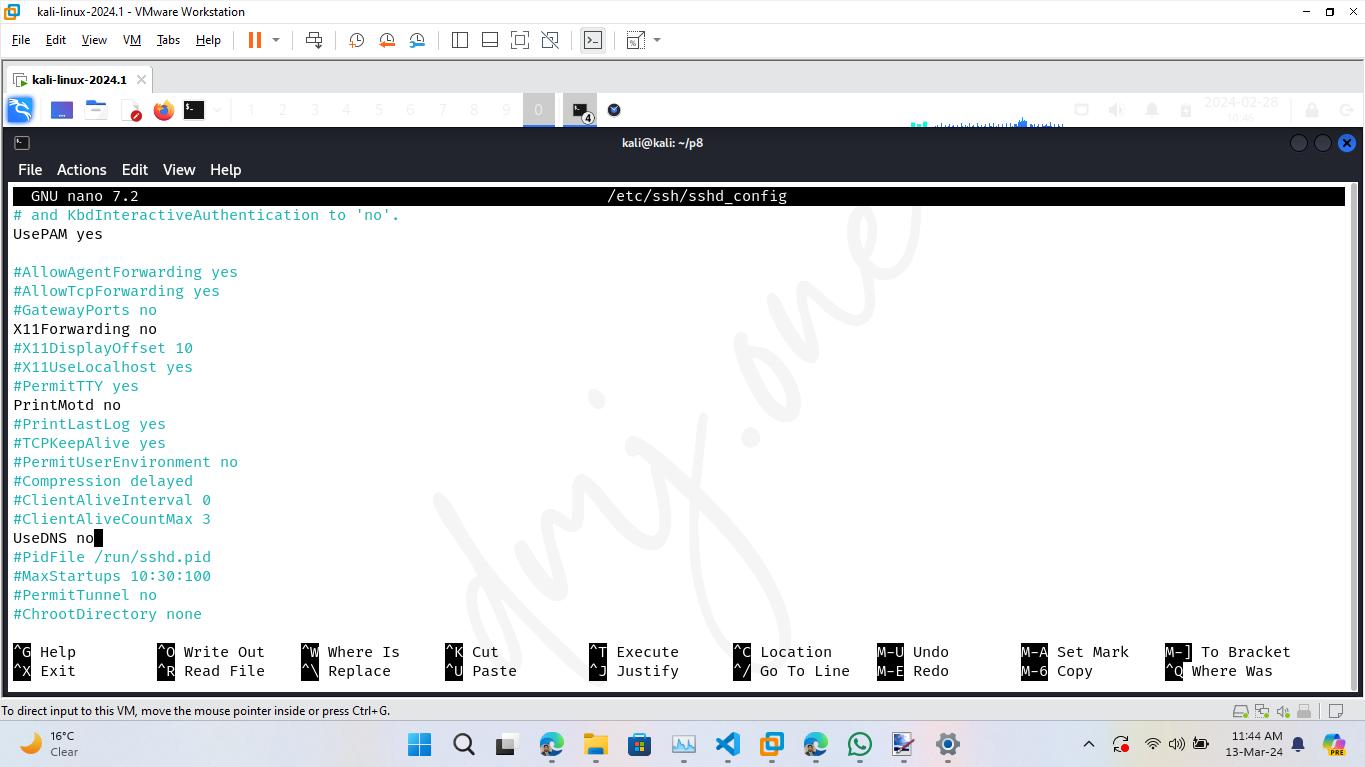
Further enhance security by configuring additional parameters in the SSH configuration file:
sudo nano /etc/ssh/sshd_config
# Adjust settings: X11Forwarding no, UseDNS no, AllowUsers username
sudo systemctl restart ssh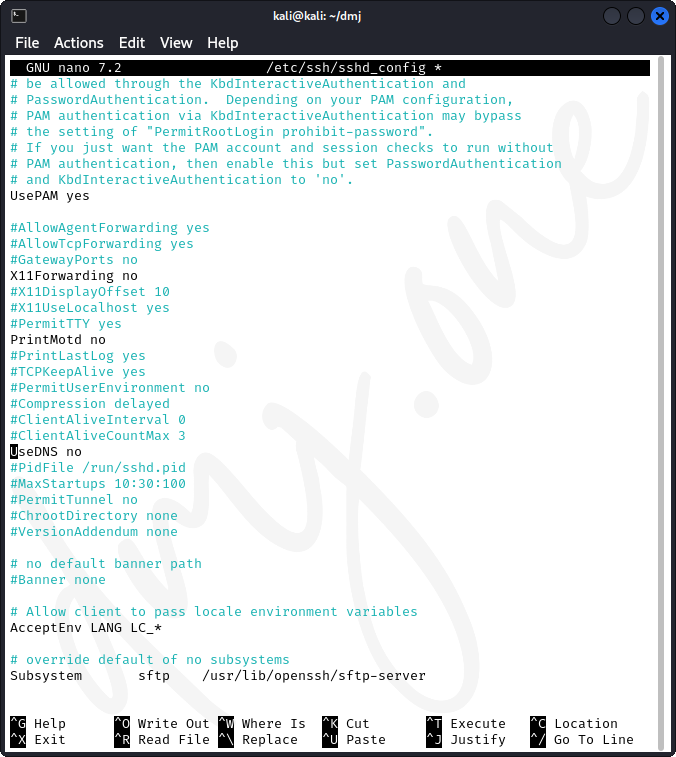
8.B.1. Introduction to HTTPD Services
The Apache HTTP Server, commonly known as HTTPD, is an open-source web server software developed by the Apache Software Foundation. HTTPD stands for HTTP Daemon and is a crucial component for web server deployment. It is designed to create and host web pages, handling requests and responses across the internet.
8.B.2. The HTTPD Architecture
HTTPD uses a modular architecture that allows for a high degree of customization and configuration. It supports a variety of features including SSL/TLS for secure communication, URL rewriting, and load balancing. The server processes requests using a multi-processing module which can be configured to suit the performance needs of different environments.
8.B.3. Installing HTTPD on Kali Linux
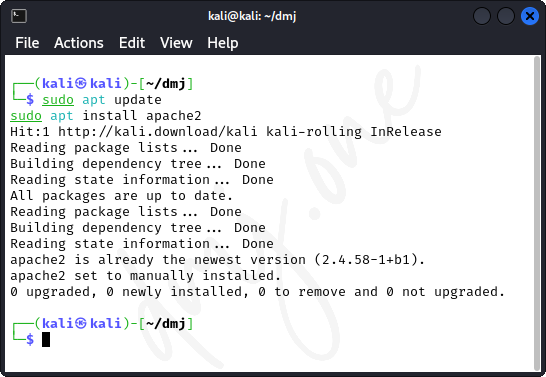
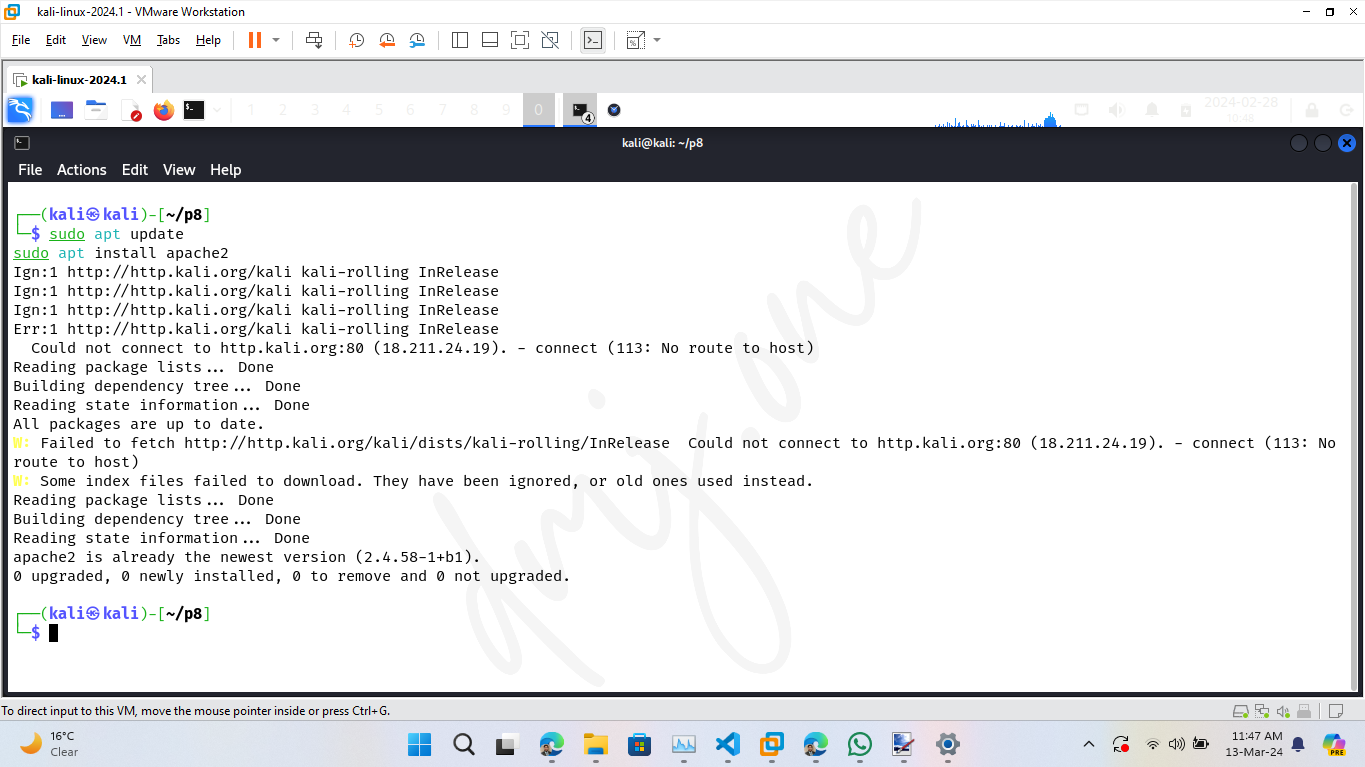
To install HTTPD on Kali Linux, you can use the apt package manager:
sudo apt update
sudo apt install apache2
This installs the Apache2 package, setting up HTTPD on your Kali machine.
8.B.4. Configuring HTTPD
After installation, configuration of HTTPD is important for security and performance optimization. Common configurations involve:
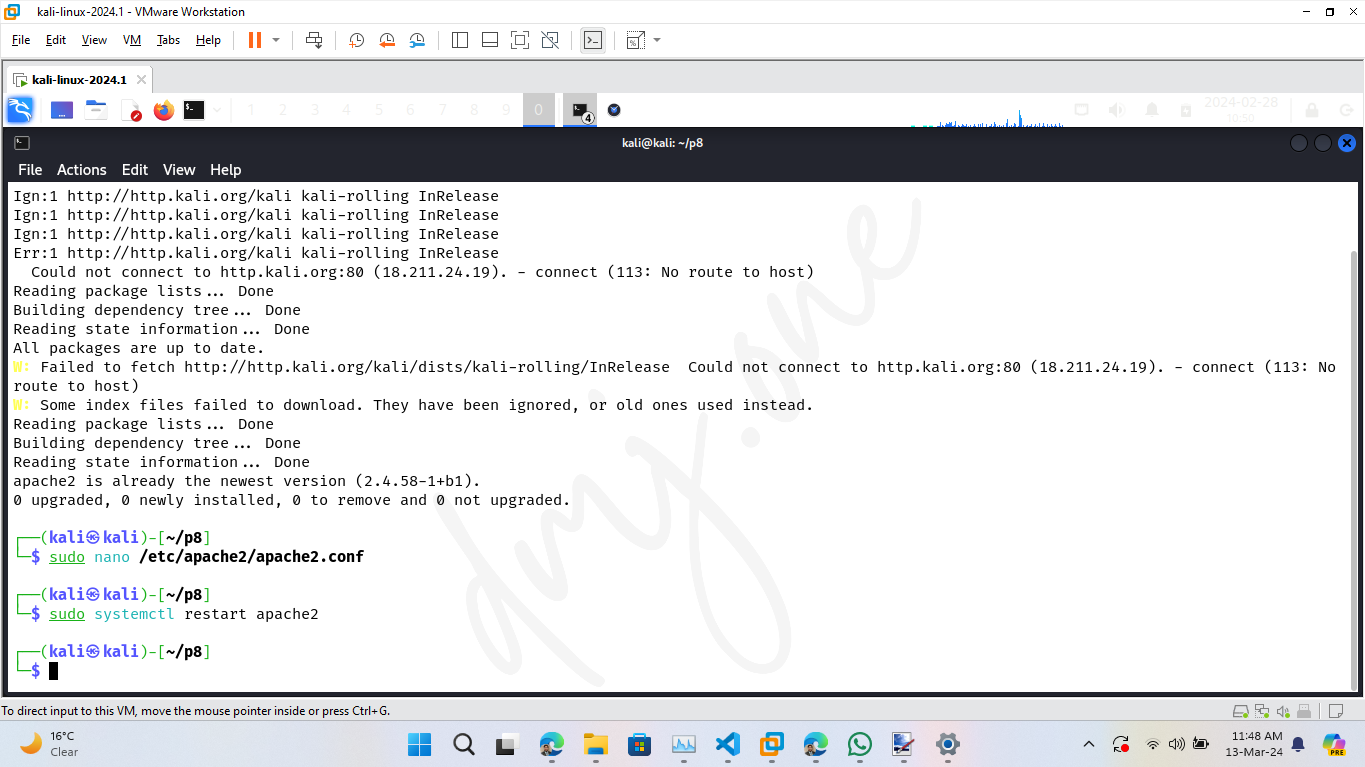
sudo nano /etc/apache2/apache2.conf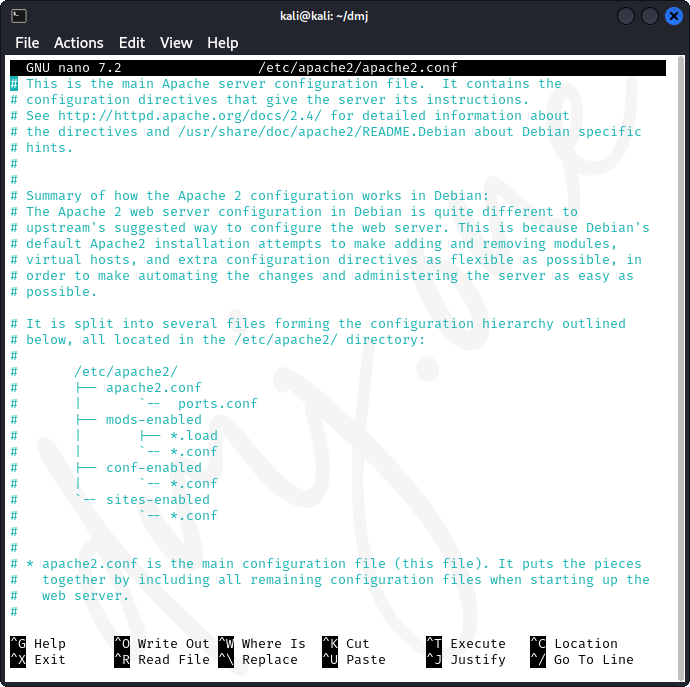
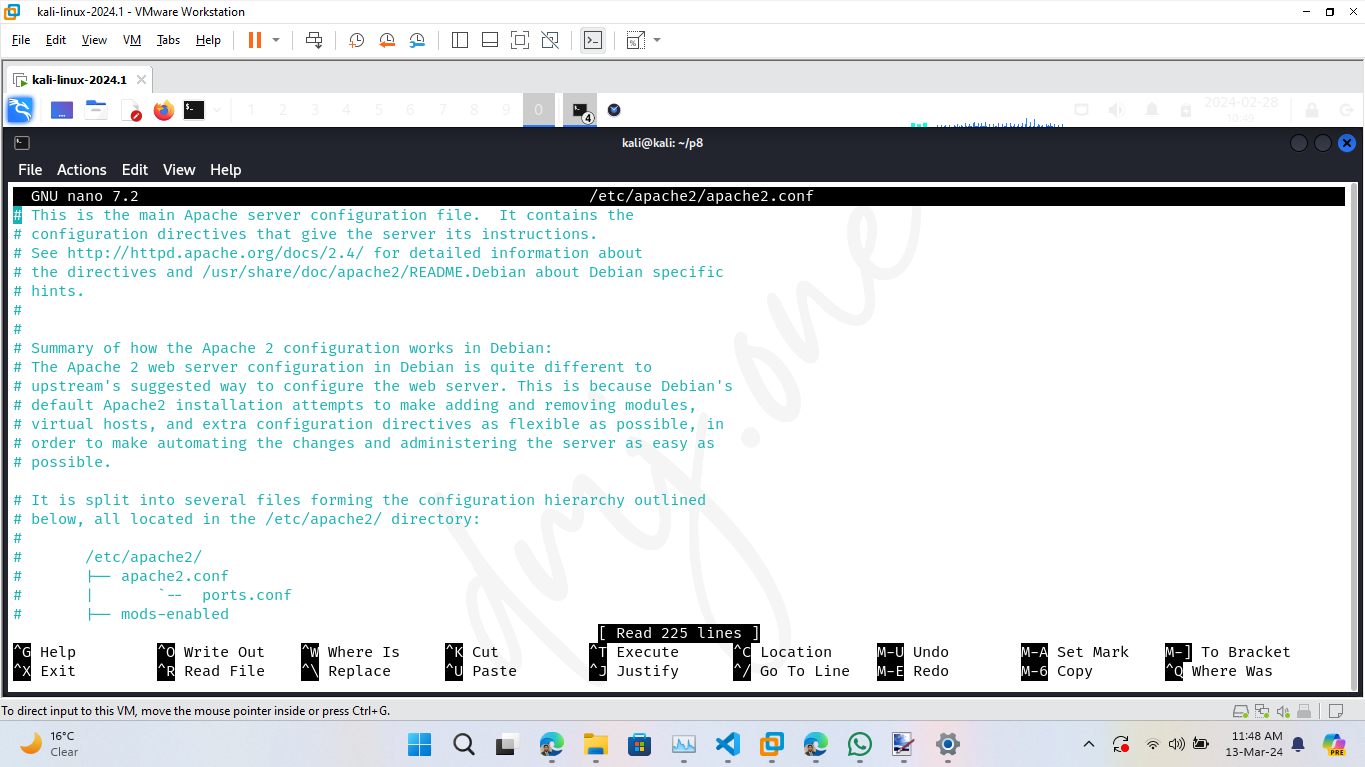
This command opens the main configuration file where you can adjust settings for directory access, performance tweaks, and more. Typical changes include:
- ServerTokens: Set to 'Prod' to minimize information leakage about the server version.
- ServerSignature: Turn off to disable server signature on error pages and server-generated documents.
- KeepAlive: Adjust according to traffic patterns to optimize performance.
Save the configuration changes and restart the HTTPD service to apply them:
sudo systemctl restart apache2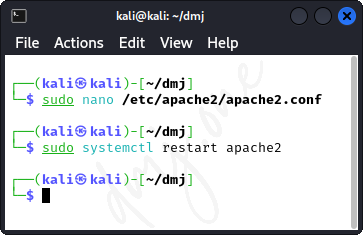
8.B.5. Enabling and Starting HTTPD Service
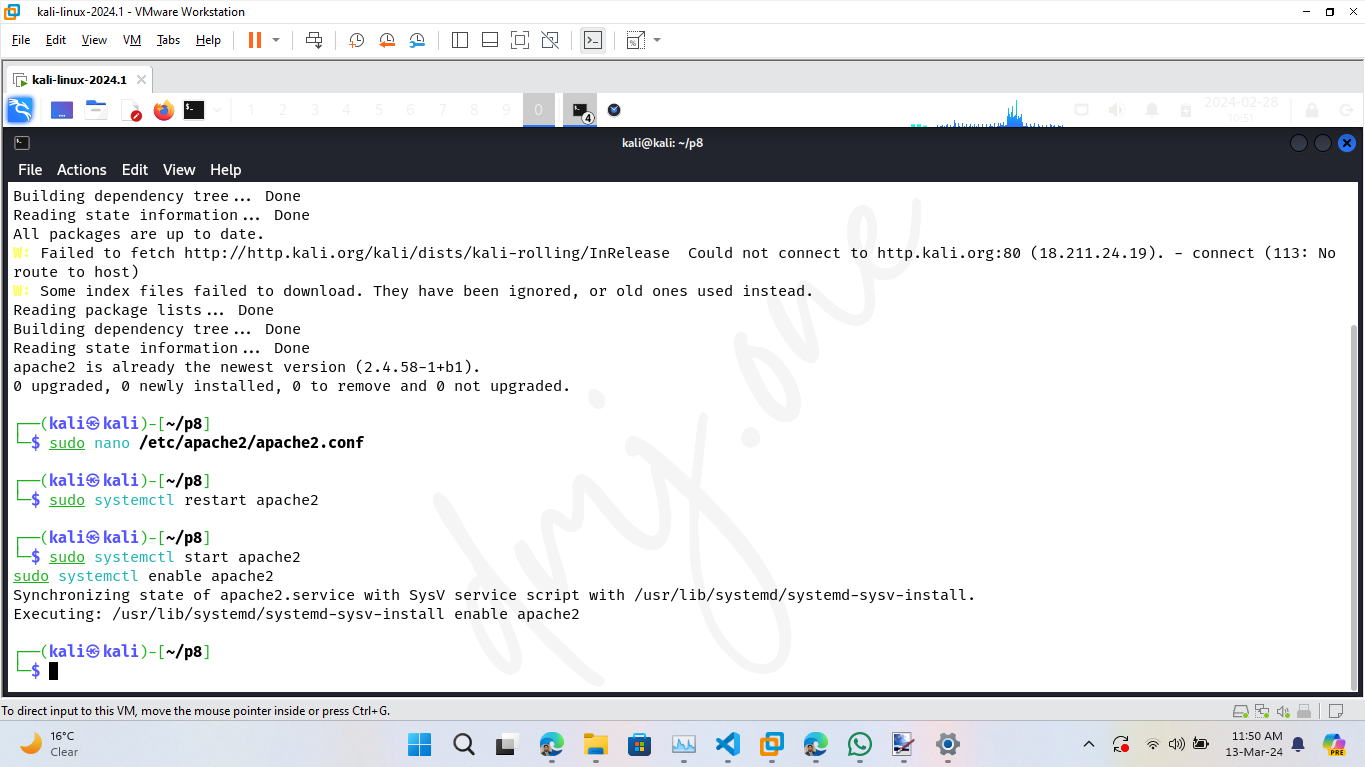
Ensure HTTPD starts at boot and is running:
sudo systemctl start apache2
sudo systemctl enable apache2
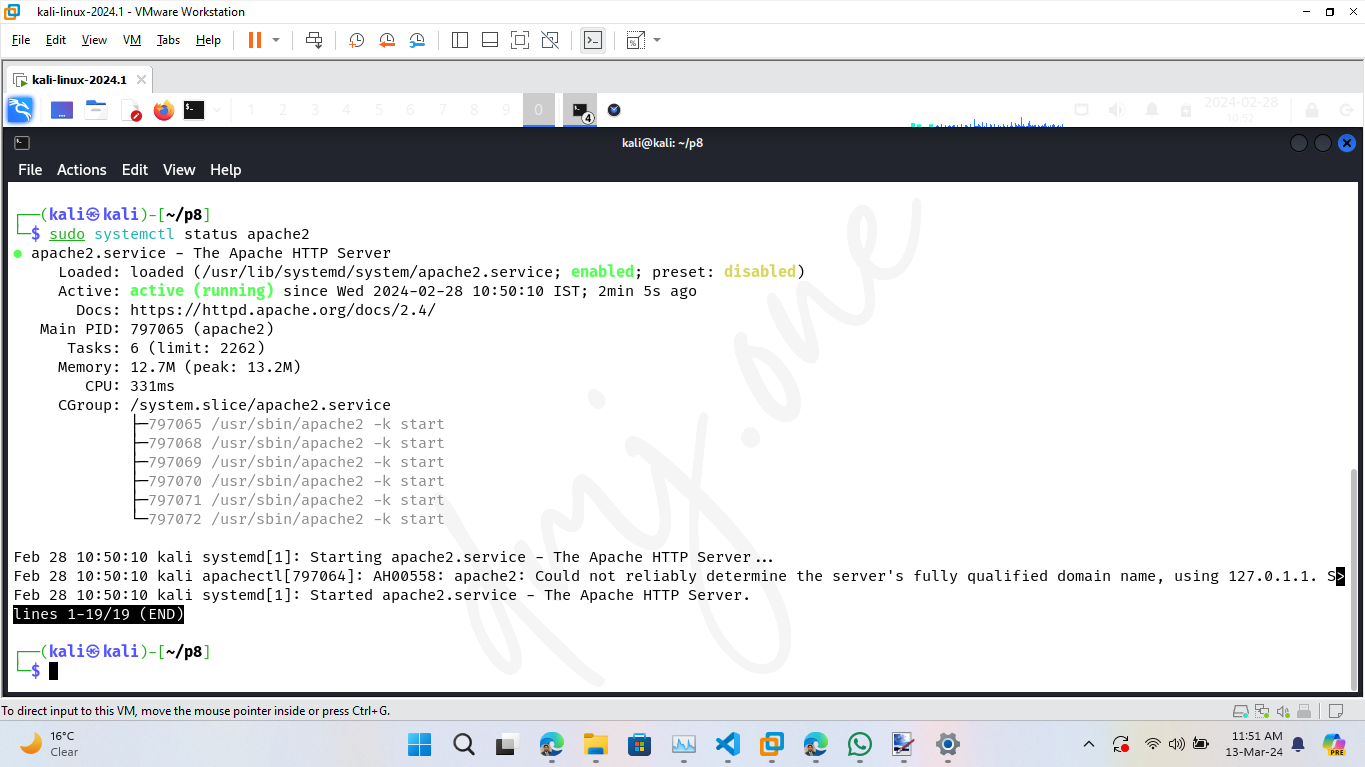
8.B.6. Checking HTTPD Service Status
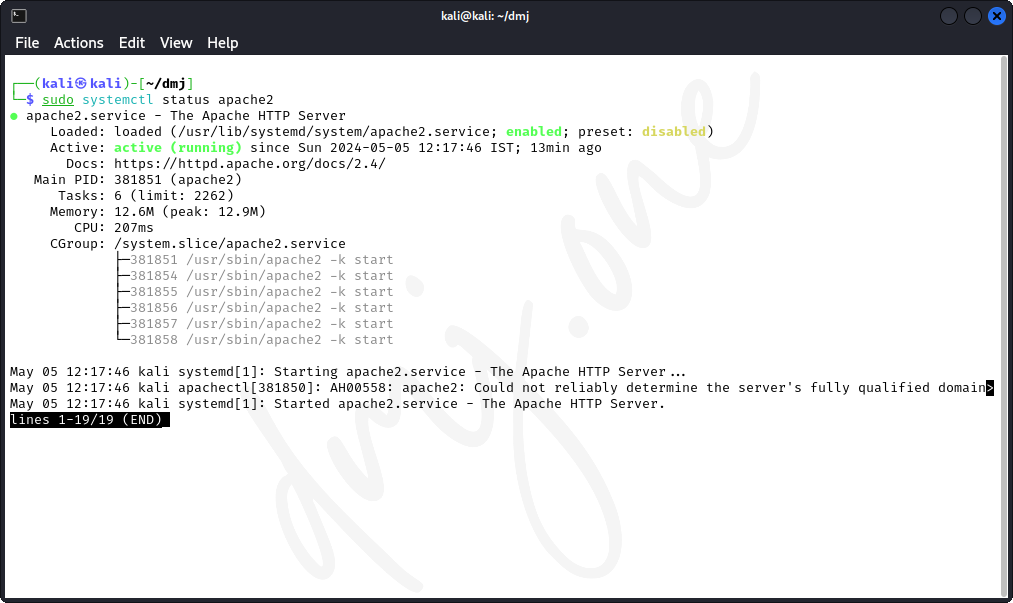
Verify that the HTTPD service is active and running:
sudo systemctl status apache2Look for 'active (running)' in the output to confirm that the server is operational.
8.B.7. Accessing the HTTPD Web Server
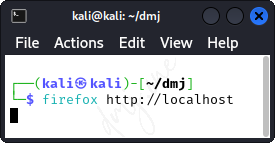
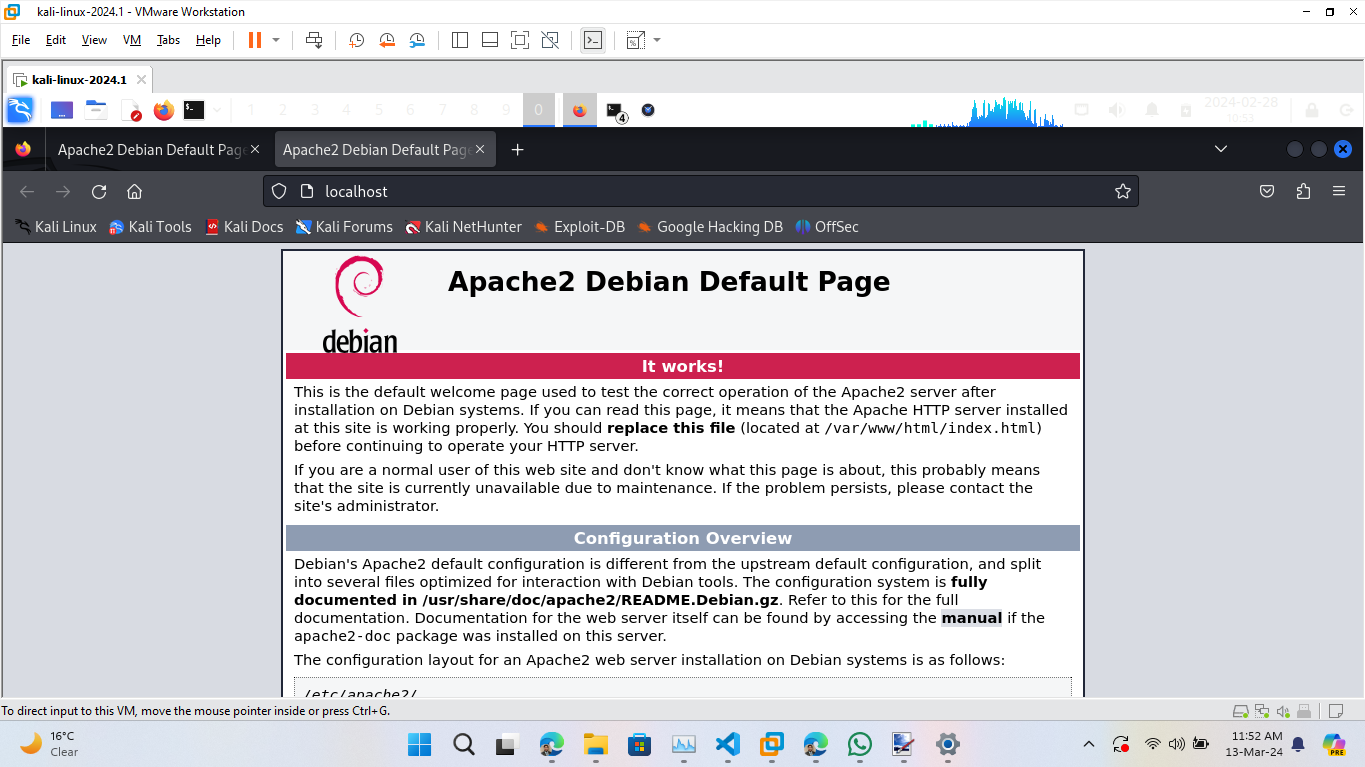
Test your HTTPD setup by accessing the default Apache welcome page through your web browser:
firefox http://localhostThis should display the Apache2 Ubuntu default page, indicating the web server is correctly installed and running.
8.B.8. Modifying the Content of the Default Index.html File in HTTPD (optional)
The default 'index.html' file is typically located in the 'html' directory of Apache's document root. To modify the content of this file, you need to locate it and then use a text editor to make changes.
cd /var/www/html
sudo nano index.html
In the nano editor, you can modify the HTML content as needed. For example, to change the welcome message, you might edit the body of the HTML to include your new content:
<html>
<head>
    <title>Welcome to My Website</title>
</head>
<body>
    <h1>Hello, welcome to my new Apache server!</h1>
    <p>This is the new content of the default index page.</p>
</body>
</html>
After making your changes, save the file and exit the editor. The changes will be visible immediately when you access your server's IP address or domain in a web browser.
8.B.9. Changing the Default Index Page in HTTPD (optional)
To change the default index page used by HTTPD, you'll need to modify the 'DirectoryIndex' directive in the configuration file. This defines which files should be served as the index page when a directory is accessed without a specific file name being requested.
sudo nano /etc/apache2/mods-enabled/dir.confIn the 'dir.conf' file, find the 'DirectoryIndex' directive and adjust it to your new default index file:
DirectoryIndex newindex.htmlReplace 'newindex.html' with the name of your new default index file. After saving the changes, restart the HTTPD service to apply them:
sudo systemctl restart apache2This change will direct HTTPD to use 'newindex.html' as the default page for directories where no specific file is requested.