Practical 1: Procedure for VirtualBox Installation and Configuration
2024, February 7
Oracle VM VirtualBox is a free and open-source hosted hypervisor for x86 virtualization, developed by Oracle Corporation. It is a powerful x86 and AMD64/Intel64 virtualization product for creating and managing virtual machines and is used by both enterprise and home users. VirtualBox can be installed on Windows, macOS, Linux, and Solaris hosts. This section covers the installation of VirtualBox on Windows 11.
Before installing VirtualBox, ensure your Windows 11 system meets the following requirements:
Note: Ensure that Virtualization Technology is enabled in your system's BIOS settings. This feature is required for VirtualBox to run virtual machines.
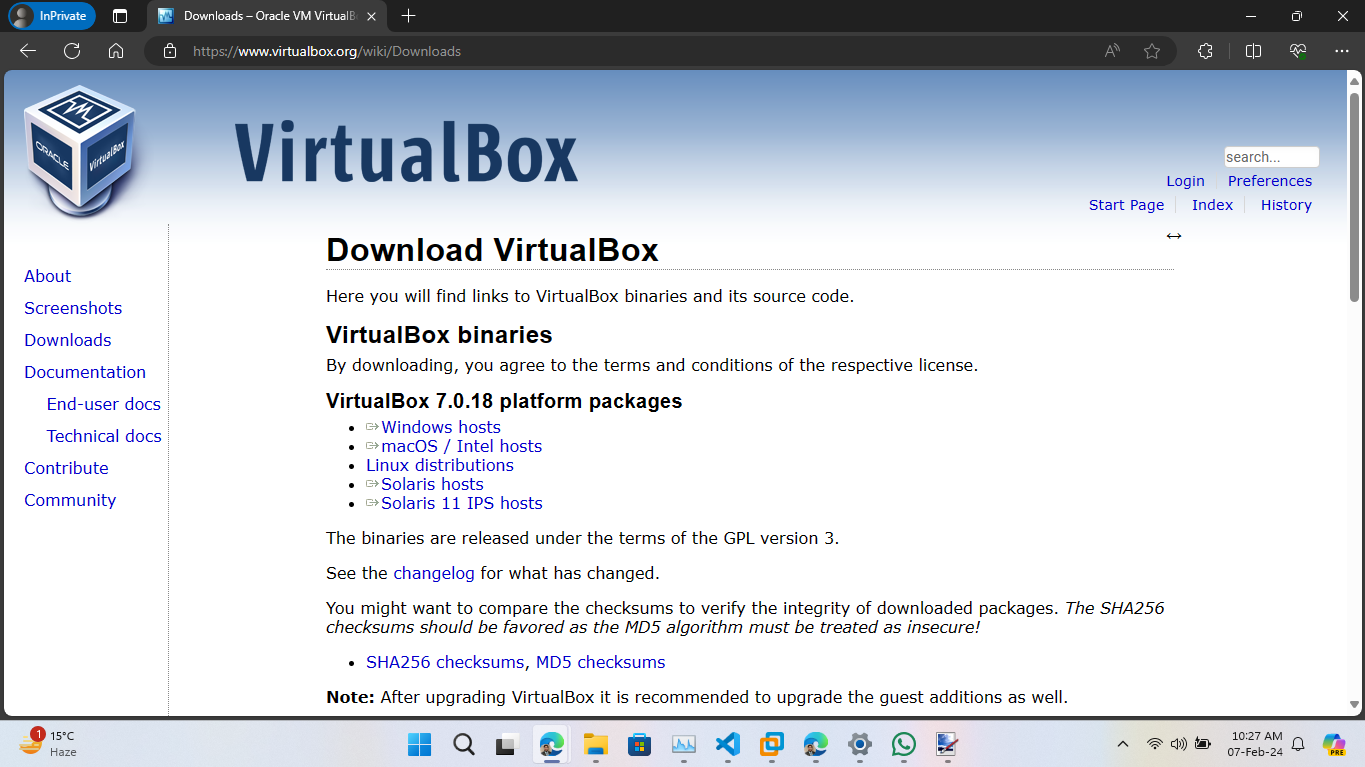
Download the latest version of VirtualBox designed for Windows / macOS host (depends on your host Operating System) from the official VirtualBox website.
We will be downloading for Windows 11 so we will choose Windows hosts which will download the *.exe file. Double click to start the installation of the Oracle VirtualBox.
For visual guidance, see the Image Reference section below.
After downloading the installer, run the executable file and follow these steps:
After the installation is complete, you can launch VirtualBox from the Start menu or desktop shortcut.
Note: If you encounter any issues during the installation process, refer to the official VirtualBox documentation or community forums for troubleshooting tips.
Begin the installation process by launching the executable of Oracle VM VirtualBox setup.
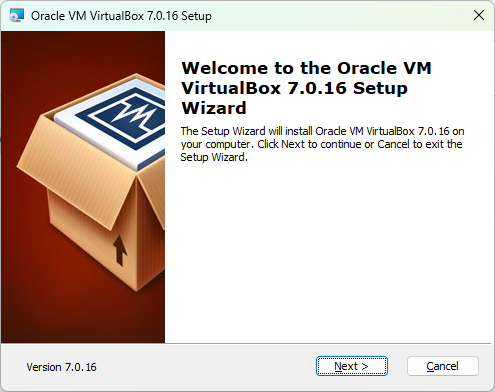
Follow the setup wizard to install Oracle VM VirtualBox.
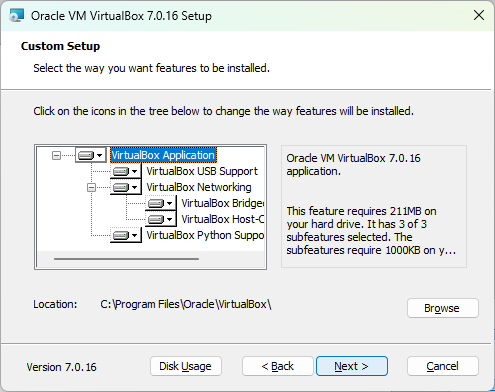
Select the features you wish to install during the setup.
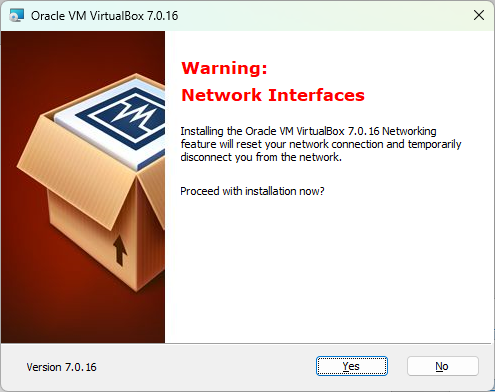
Be aware of the network interface settings that may be affected during installation.
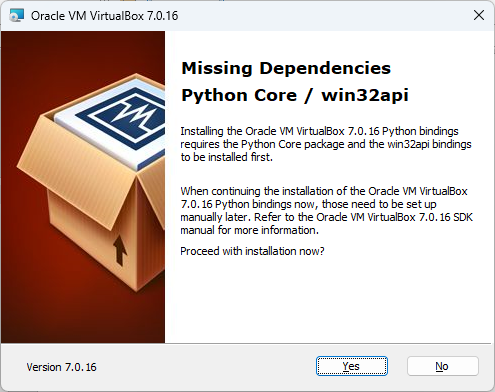
Ensure all necessary dependencies, like Python Core or win32api, are ready to install.

Initiate the installation process after confirming all settings.
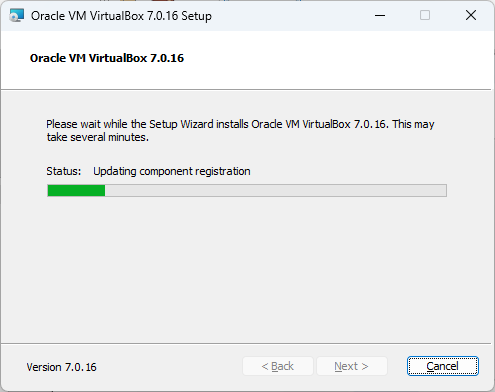
The installation process is now underway; monitor the progress bar.
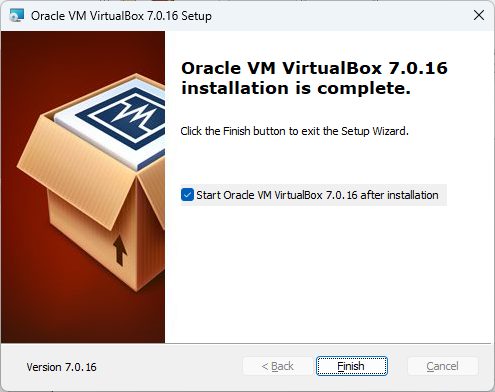
Congratulations, the installation of Oracle VM VirtualBox is complete.
Begin the installation process by launching the executable of Oracle VM VirtualBox setup.

Follow the setup wizard to install Oracle VM VirtualBox.
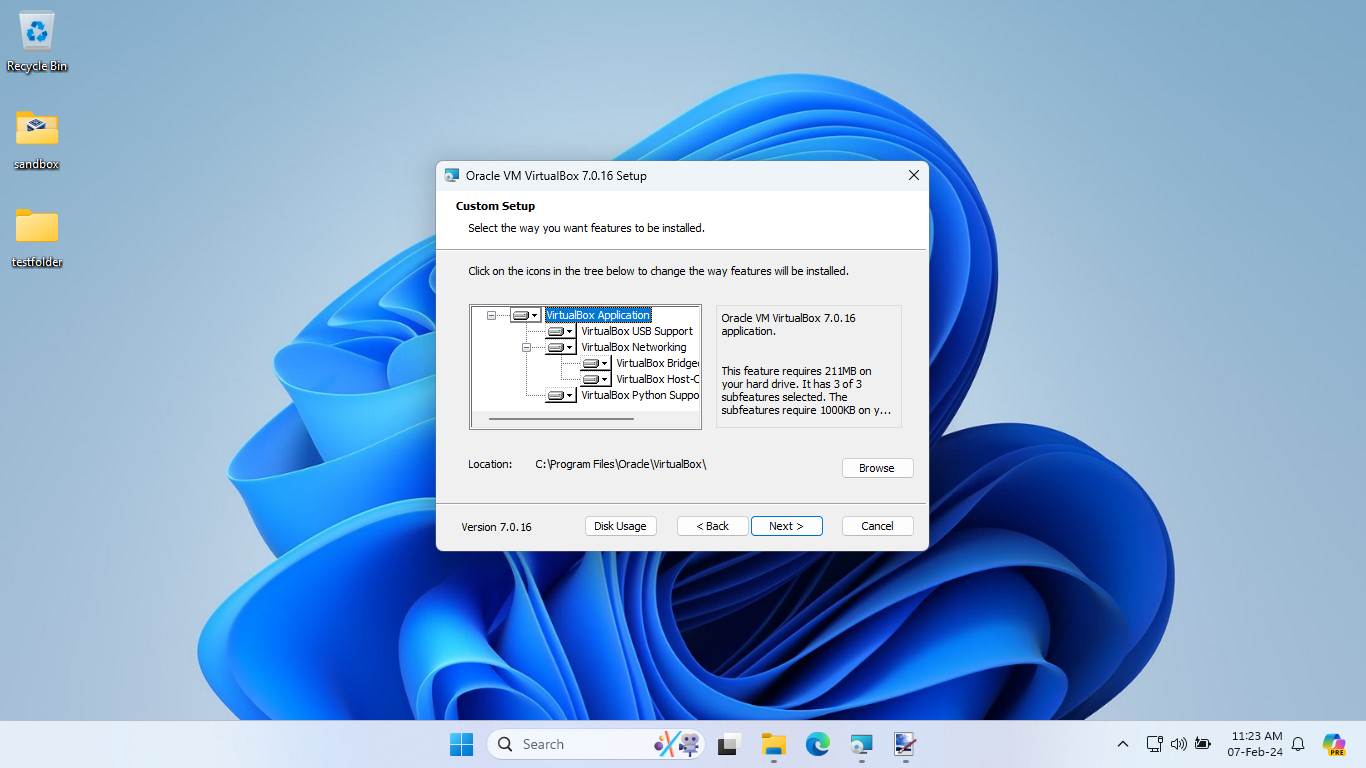
Select the features you wish to install during the setup.

Be aware of the network interface settings that may be affected during installation.

Ensure all necessary dependencies, like Python Core or win32api, are ready to install.

Initiate the installation process after confirming all settings.
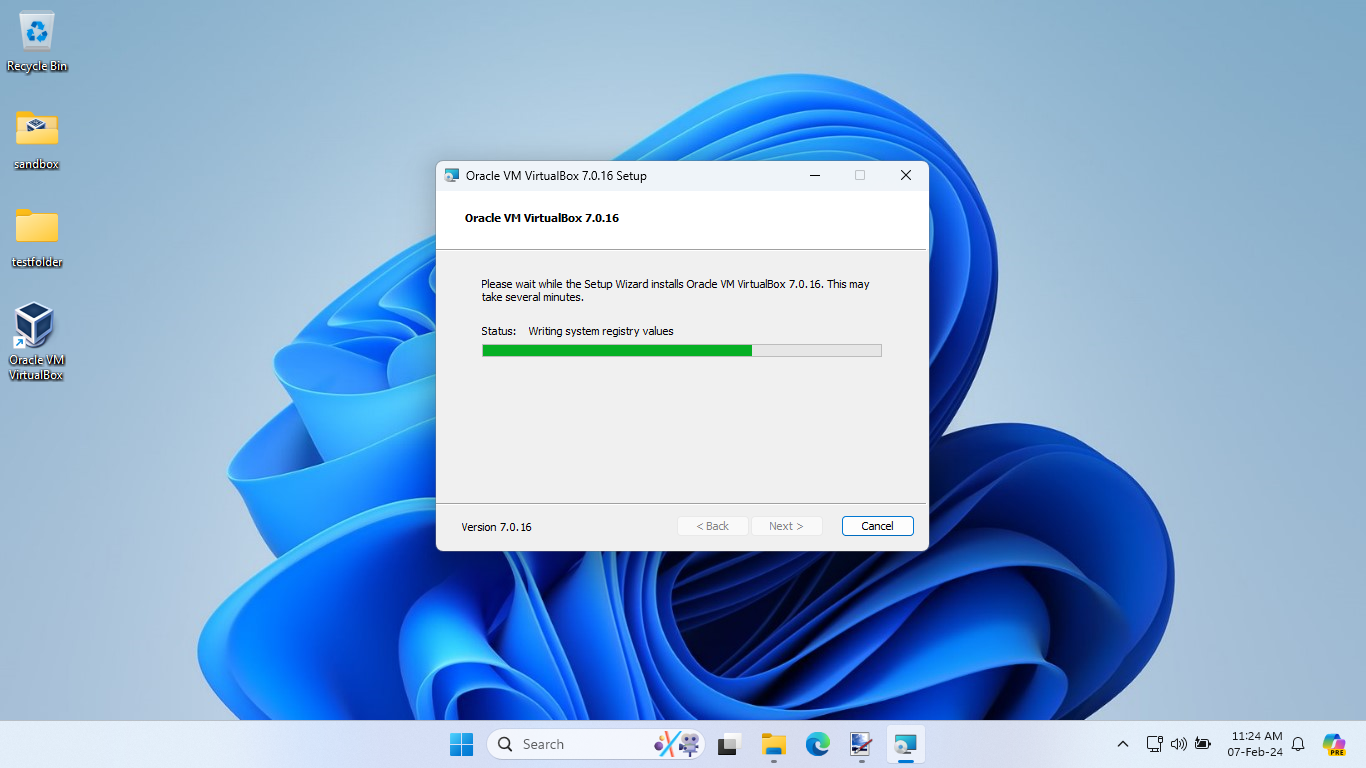
The installation process is now underway; monitor the progress bar.

Congratulations, the installation of Oracle VM VirtualBox is complete.
For visual guidance, see the Image Reference section below.